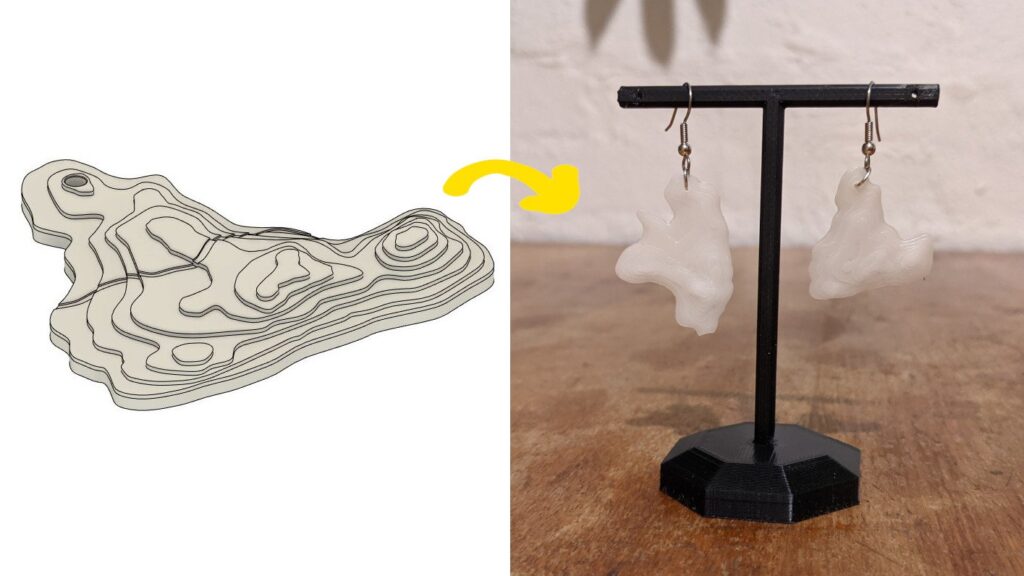
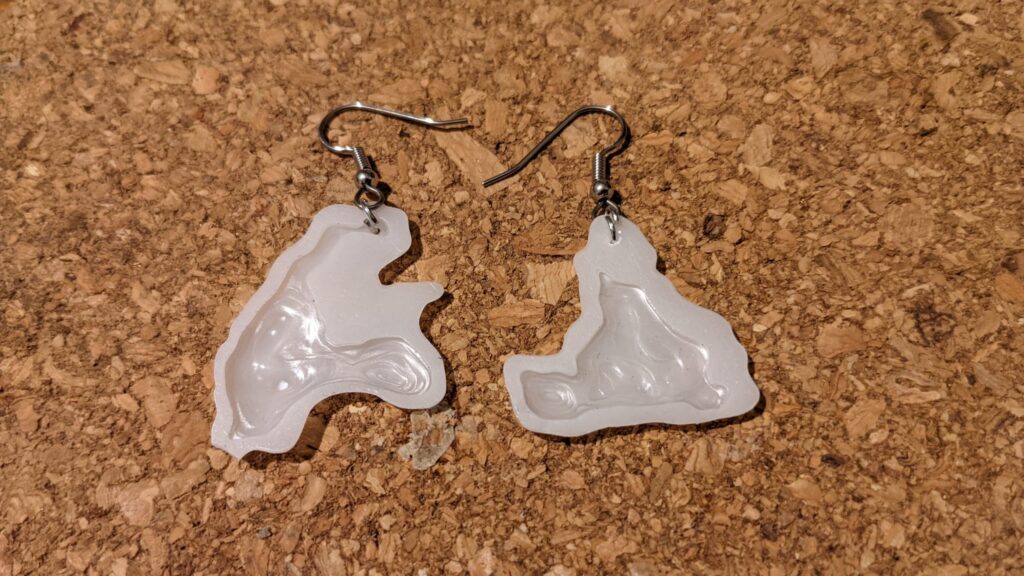
I’ve been having a great time. After putting it off, I’ve finally added a Resin (SLA) 3D Printer to my home workshop. In this post, I wanted to share some features from my first SLA project, a pair of simple Topography Design Earrings for my Partner, in the shape of mountains meaningful to them.
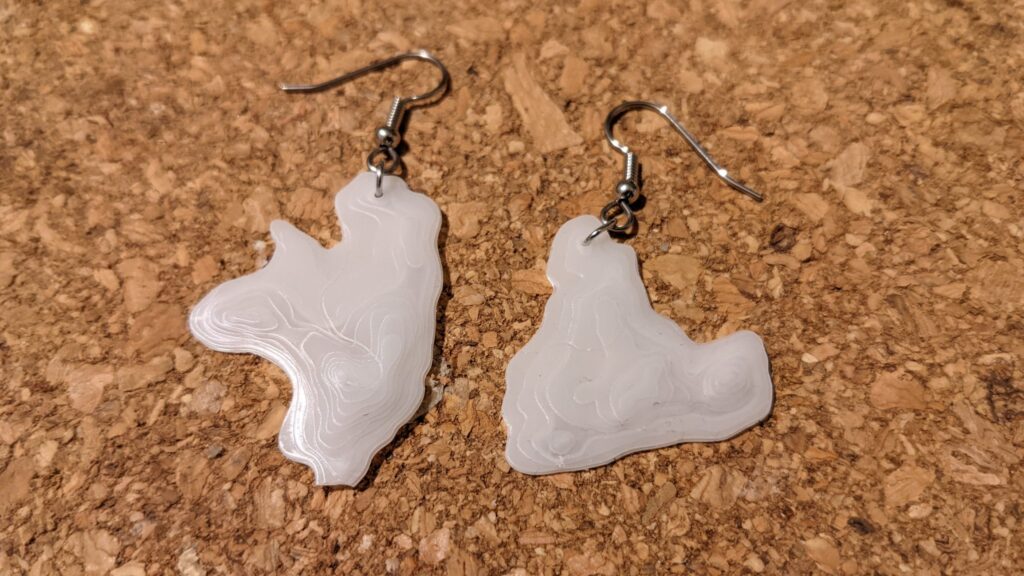
This is still a work in progress, the final version will be made in a different colour or material. My plan is to try and cast these in Metal, if that goes ahead, I’ll be sure to write a post on it.
What’s Resin (SLA) Printing again?
I expect that a good portion of people reading this will be unfamiliar, or only lightly familiar with Resin (SLA) 3D Printers, so I’ll give a broad stroke summary of SLA printing to bring us all on the same page.
Please jump ahead a section if you’re already familiar with SLA printers, or just want to check out some of my design work.
SLA is short for ‘Stereolithography’. I believe that the term SLA technically encompass several different 3D printing technologies, but as it’s used in the hobbyist space, and how I’ll be referring to it here, I’m talking about hobby level 3D printers which use an LCD screen as a light mask.
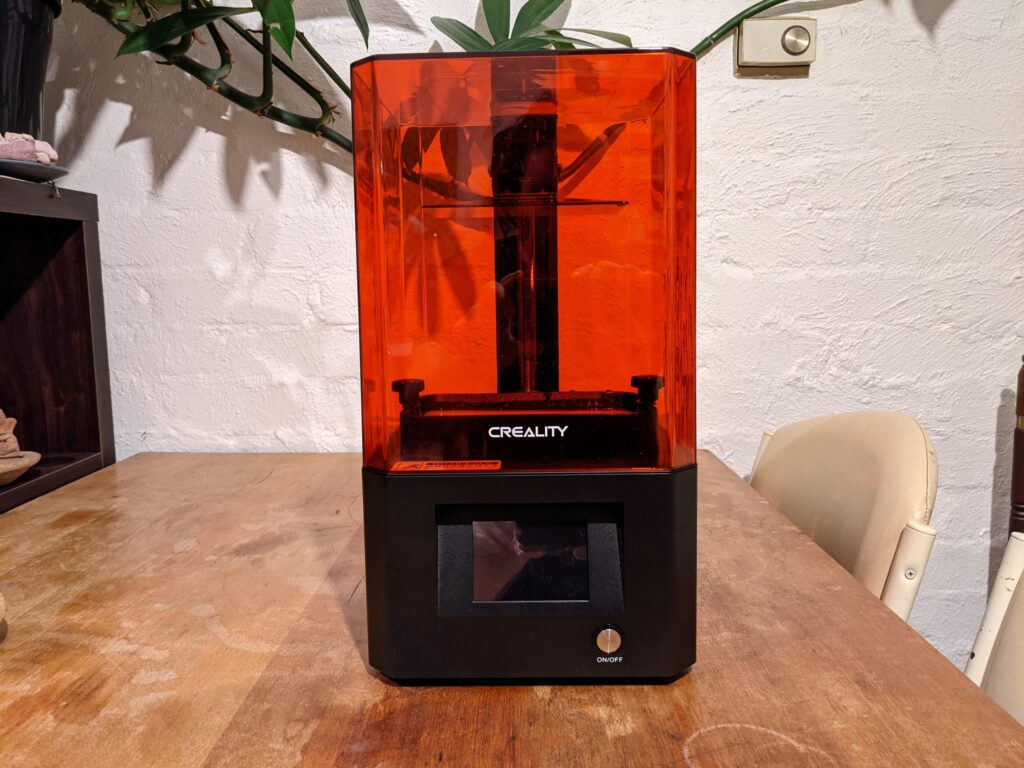
SLA printers use UV cure liquid resin as the consumable, as opposed to spools of plastic (PLA, ABS, ect) used in more ‘typical’ FDM printers. SLA Printers are surging in popularity amongst hobbyists, similar to what happened with FDM printing 4-5 years ago.
The key advantage of SLA printing is it can produce very detailed prints, at much higher resolution then can be achieved with FDM printing.
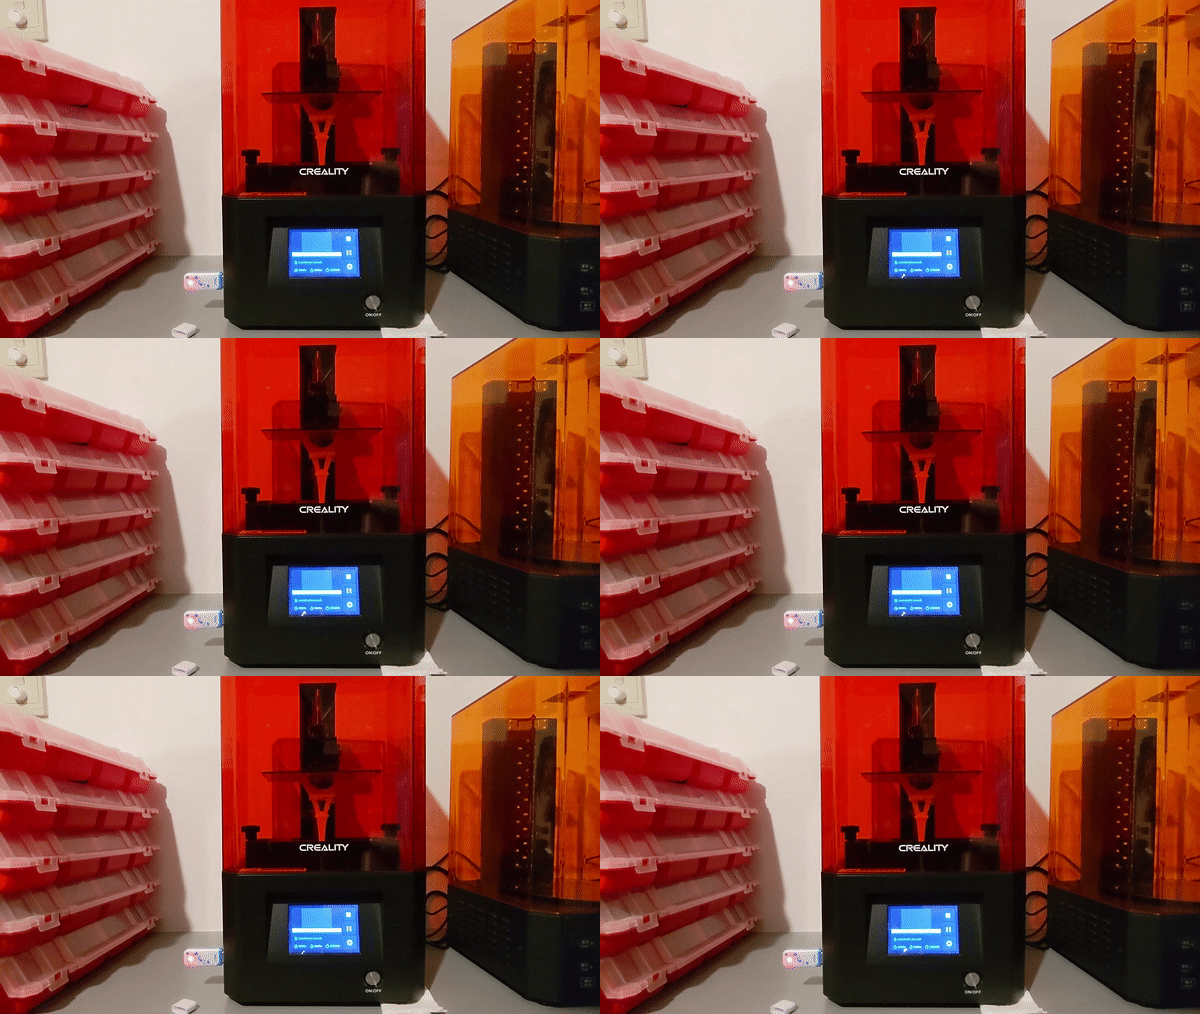
This is what an SLA printer looks like when it’s printing
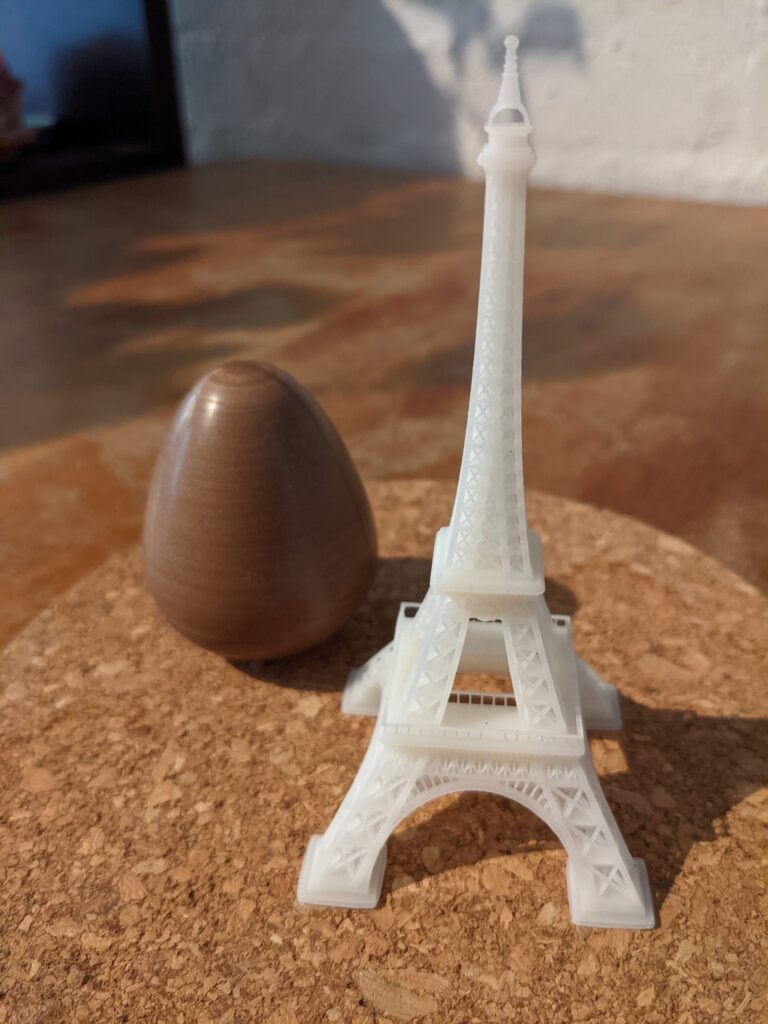
(This is not my design, but a nice test print which came with my printer)
When the print’s finished it looks like this

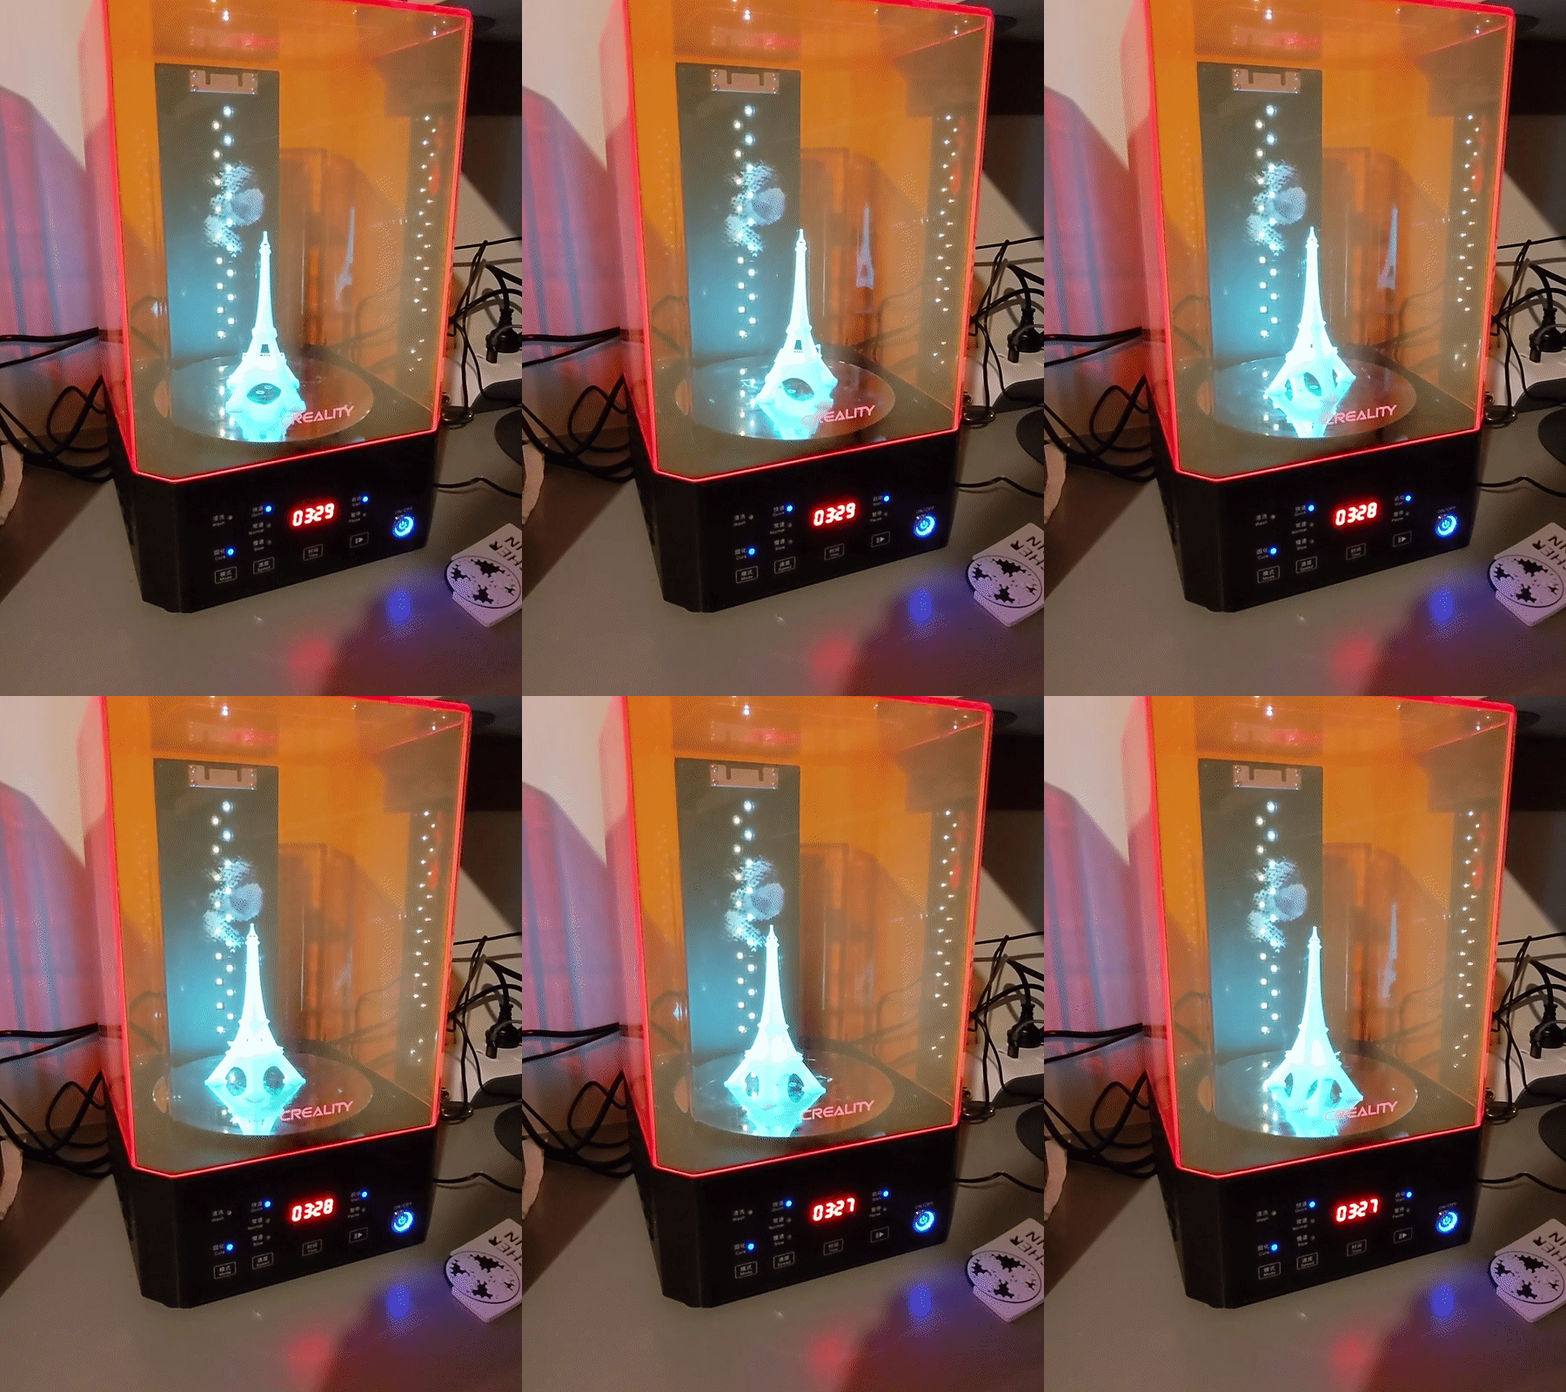
After printing, the model is still soft and covered in nasty uncured resin. As a final step, it needs to be washed in a solvent (I use isopropyl alcohol) and then cured under UV lights. I use a combination wash and cure station for convenience.
UV curing looks like this
Unfortunately the UV resin used in SLA printing is a harmful chemical. If you’re interested in the technology and want to look into it further, please be careful and learn about the hazards and safe practices. Angus from the fantastic Marker’s Muse YouTube channel has an excellent video on SLA safety.
Overall Design
I’m really happy with how the earrings turned out. I think this is a good lesson in keeping things simple letting the design come out of the function.
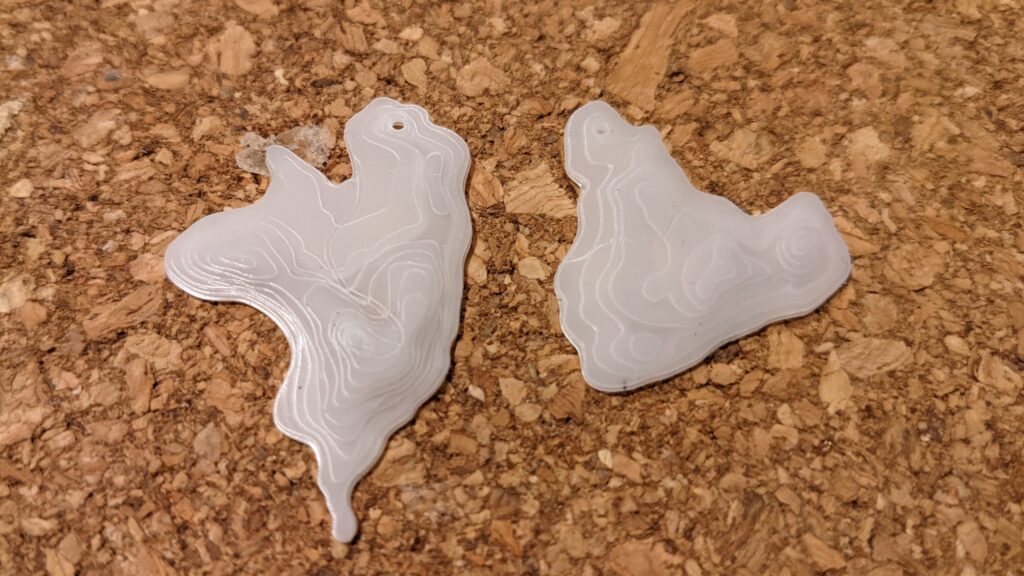
As you probably expect, I created the earrings shape by tracing a topological map and then extruding out the layers.
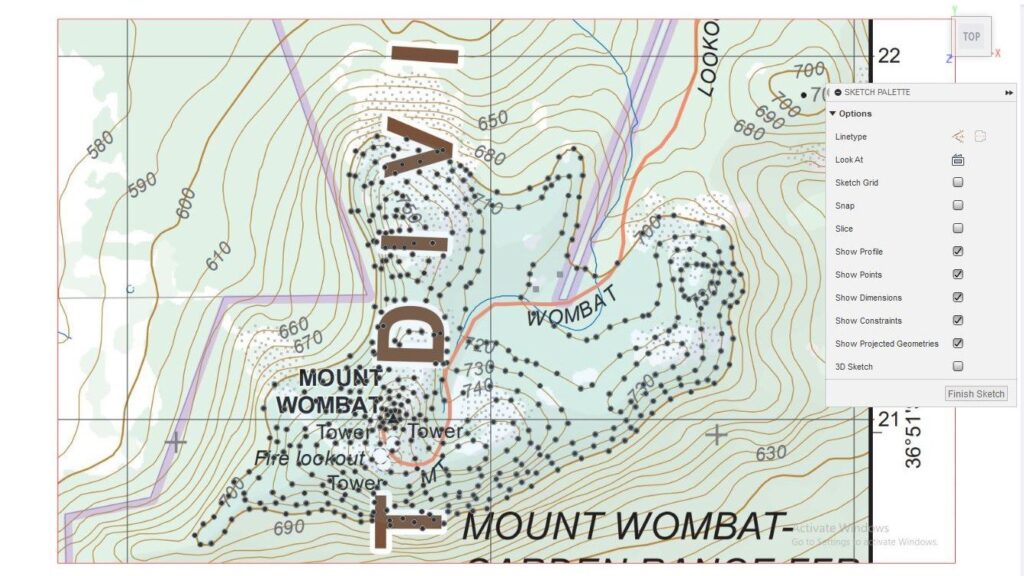
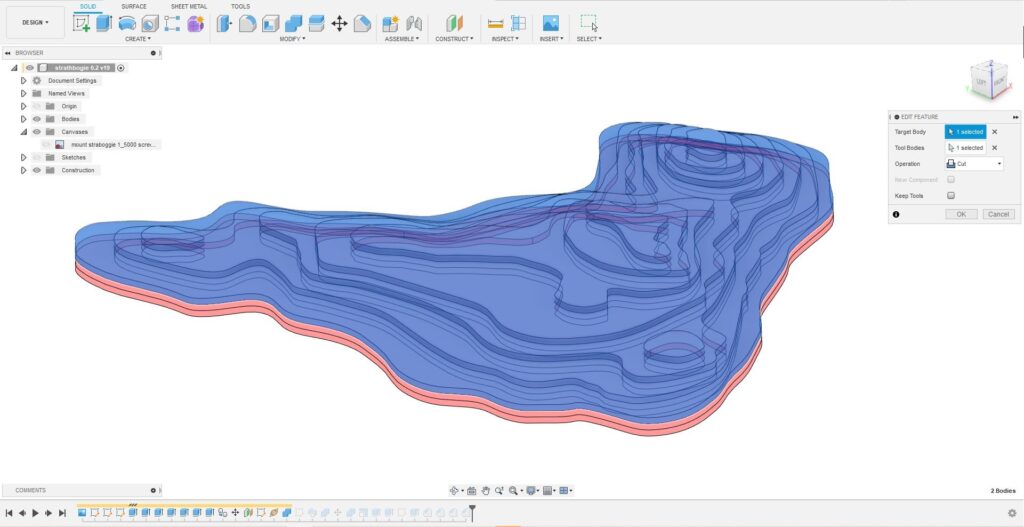
Still keeping it simple, I hollowed out the bottom of the earing using the same topography profile used on the top.
Nothing complicated here, the way I hollowed out the piece was to create a copy of the model and translate it down. I could then use that copy as Cut tooling to remove material from the master.
Hiking Path Emboss Feature
A small feature I really like in this design is the Hiking Path embossed along the top. You can only see it up close and I think it’s a great example of the fine detail SLA printers can produce.
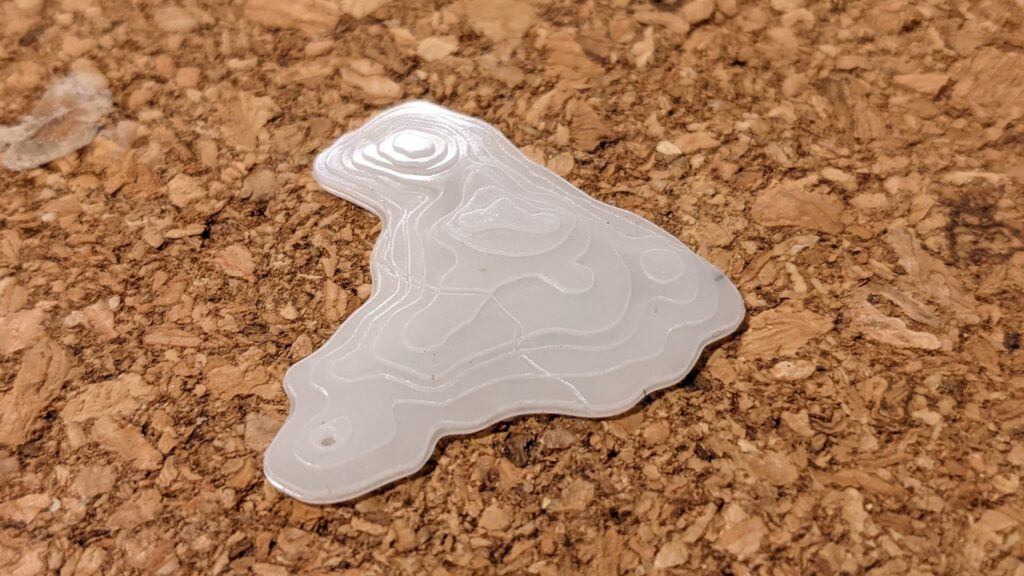
The embossing workflow I used is pretty neat, if I do say so myself. Rather than fill up this post, I’m going to write up as my next blogpost.
Underside Smoothing Effect
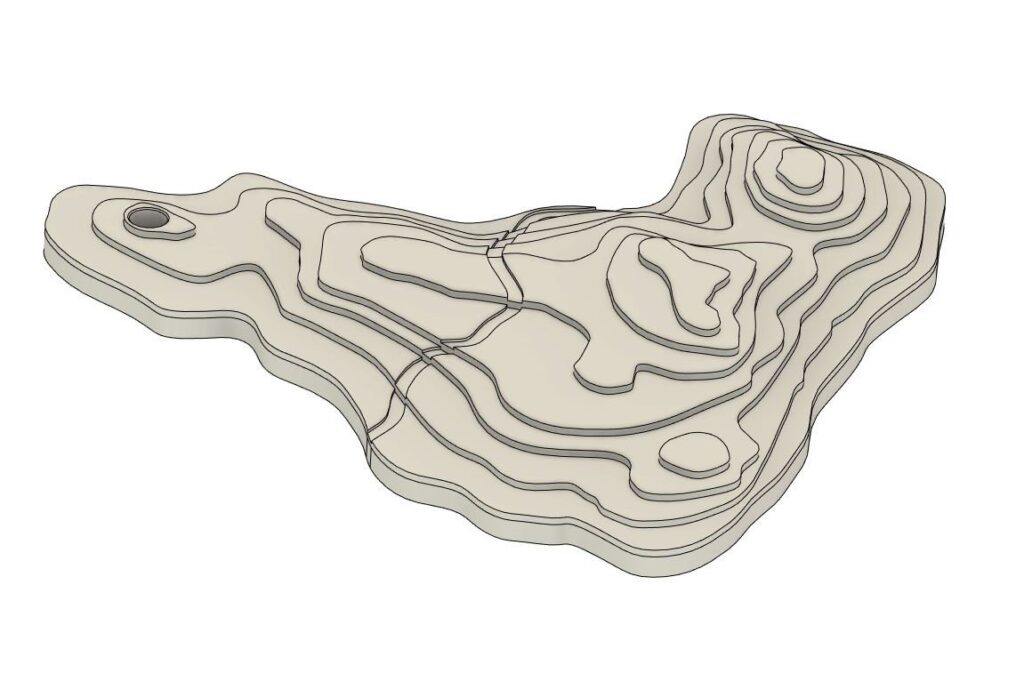
Something I wasn’t expecting when I first printed this design, was the smoothing effect the SLA print process would add to the underside of the model.
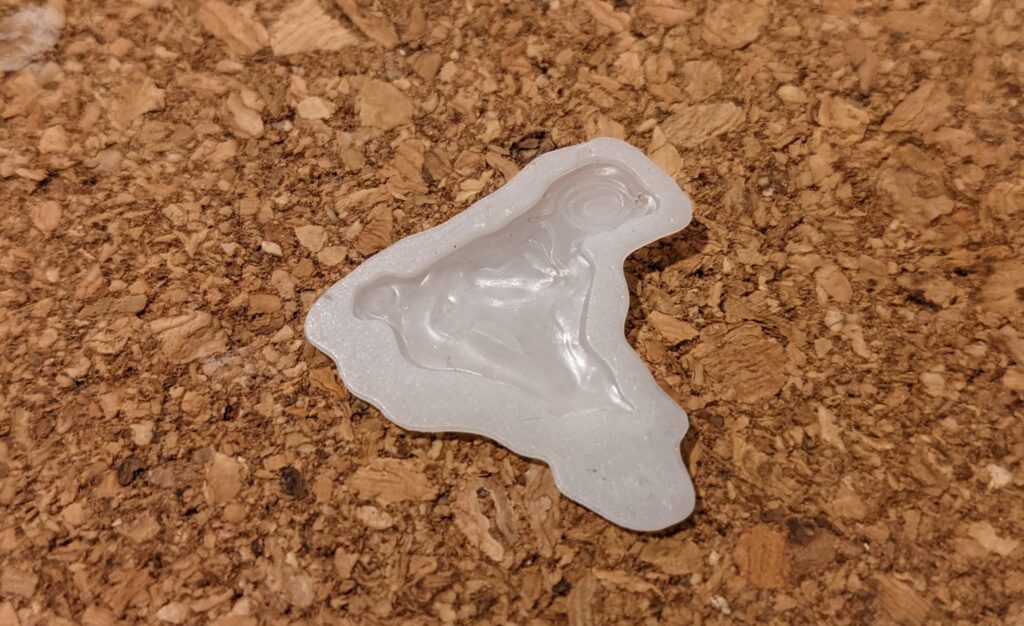
As you can see from the CAD image (bellow), the underside of the model is a mirror of the top, with sharp orthogonal edges.
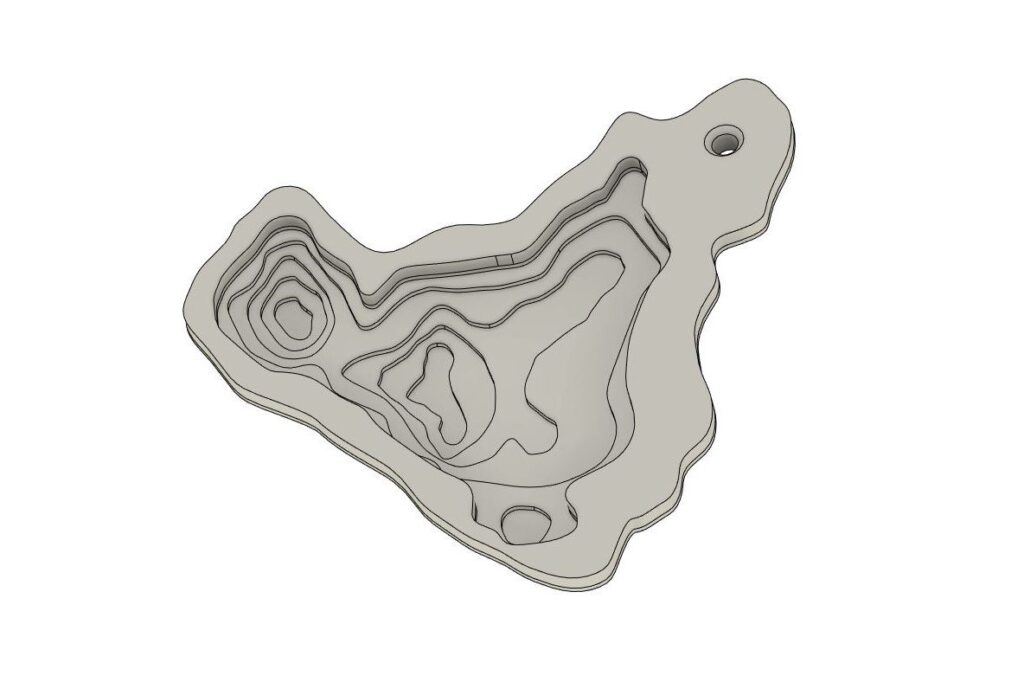
For this project I think the underside smoothing effect, despite being unexpected, adds a nice finish so I’ll be leaving it as it is.
That said, I’ll keep this in mind as a potential challenge for future projects with shear overhangs. If I did want to reduce the underside smoothing, I’d experiment with increasing the layer exposure time, reducing the area of the overhang or adding a draft angle to the overhang.
Closing Thoughts
It feels great to get another post out. I’m sure this isn’t just me, but when I get a new tool to play with, it can be hard to focus up and actually get a project finished.
I can’t wait to get more experience with SLA printing. It’s been a blast to use and I can already tell it’ll be a huge complement to my current tools and workflows.
Thanks for the read!
As always if you have any comments of feedback I’d love to hear from you.